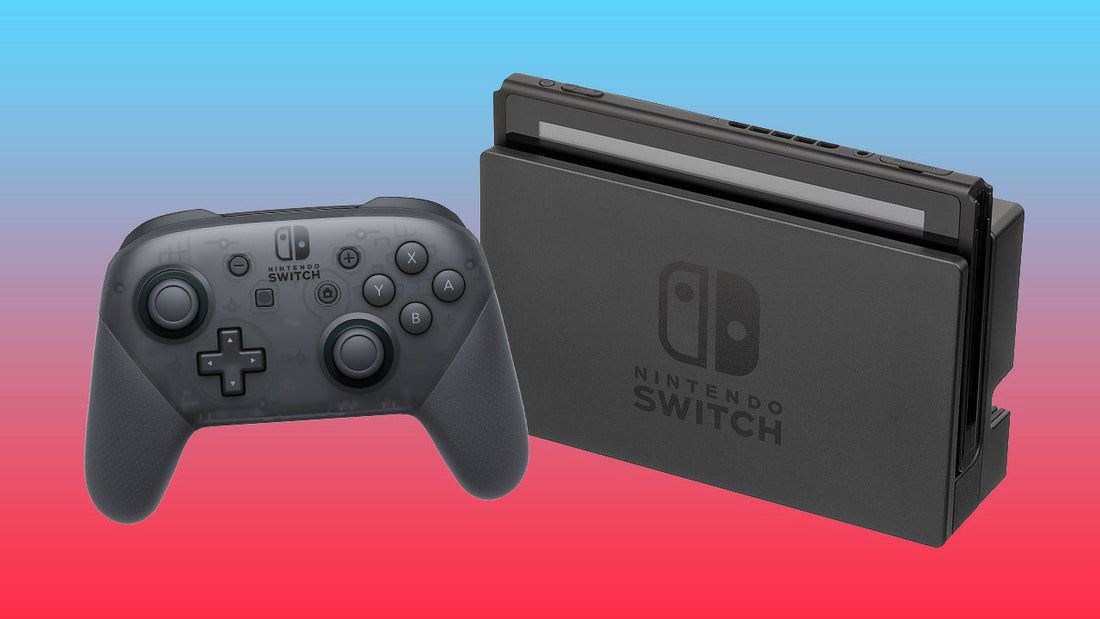
How to Connect Nintendo Switch Controller? The Step-by-Step Tutorial
POWKONGShare
With the rising popularity of gaming on the Nintendo Switch console, it's essential to know how to connect the controller for an optimal gaming experience. In this step-by-step tutorial, we will guide you through the process of pairing your Nintendo Switch controller with your console, ensuring a seamless connection. Say goodbye to frustrating pairing troubles, and get ready to dive into gaming heaven!
Understanding the Principles
Before we dive into the pairing process, it's important to understand the principles behind connecting the Nintendo Switch controller. The controller uses Bluetooth technology to establish a wireless connection with the console, allowing you to play games with ease. It's crucial to ensure that you have a compatible and fully charged controller for a successful pairing process.
Preparing for Pairing
Let's begin by gathering everything you need and preparing your Nintendo Switch console for pairing. You'll need a charged Nintendo Switch controller, the console itself, and a stable Wi-Fi connection. Start by powering on your Nintendo Switch console and navigating to the controller settings by accessing the System Settings on your home screen.
Step-by-Step Pairing Process
Now that you're in the controller settings follow the step-by-step process below:
Step 1: Enable Pairing Mode on the Console
To initiate the pairing process, select the "Controllers and Sensors" option from the System Settings menu. Then, choose "Change Grip/Order" to enable pairing mode on the console. This will make your console discoverable to nearby controllers.
Step 2: Activate Pairing Mode on the Controller
On your Nintendo Switch controller, hold down the small sync button located on the top until the lights on the controller start flashing. This indicates that the controller is now in pairing mode.
Step 3: Initiate the Pairing Process
Return to your console and press the "L" and "R" buttons simultaneously on the controller. This will prompt the console to search for nearby controllers. Once the console detects your controller, it will appear on the screen and ask you to confirm the connection.
Step 4: Confirm the Successful Connection
On the console screen, you will see a notification that a new controller has been connected. Confirm the connection by pressing the "A" button on the controller. Once connected, the controller lights will stop flashing, indicating a successful pairing.
Troubleshooting and Potential Issues
While connecting your Nintendo Switch controller is usually straightforward, occasional issues may arise. Here are some common problems and troubleshooting tips:
Issue: Controller not detected
Try resetting the controller by unplugging the console and holding the power button for 12 seconds. Then, proceed with the pairing process from the beginning.
Issue: Intermittent or laggy connection
Ensure that there are no significant obstacles between the controller and console that can disrupt the Bluetooth signal. Additionally, staying within a reasonable range of the console may improve your connection.
Important Notes and Tips
Here are some final notes and tips to enhance your pairing experience:
- Different controller versions are compatible with various Nintendo Switch console models. Always refer to the compatibility chart or your official Nintendo documentation for proper pairing guidance.
- Keeping your controller and console software updated is crucial for optimal performance and compatibility.
- You can pair up to eight different controllers to a single Nintendo Switch console, making multiplayer gaming a breeze.
Now that you have successfully connected your Nintendo Switch controller with the step-by-step tutorial, you can dive into the world of video games without any pairing troubles. Enjoy the seamless and immersive gaming experience on your Nintendo Switch!

